I have decided that I wanted to make a tutorial! The tutorial I have chosen to do I a rag quilt! it is a very simple quilt and is super warm and fun! Ok lets get started!!
Rag Quilt Tutorial!
supplies
- 4 different types of Fleece material ( I did 2 yards of each fabric and it was plenty)
- rotary cutter
- Cutting mat
- cutting ruler
STEPS:
Step number 1
You need to cut your material! I did my squares 6x6 but you can do what ever size you want!
ok first you need to cut your material in 6 inches (or whatever size you are doing) in width.
 |
| Make sure that you material is folded in half! It makes the job 10 times easier |
 |
It will look like this when you are done!
 |
Do it until your fabric is gone
Step Number 2
Now after all of your strips are cut you need to cut them into squares. When you are doing that keep your material folded in half because you get two done in one cut!
First you have to cut of the salvage of the material.
|
|
After you cut the salvage of your strips you can now cut your squares! Measure 6 inches over ( or what ever size you are doing) on you mat. Line your ruler up on the 6 inch line and cut! Do that to all of your strips.
You repeat Steps 1 and 2 for all of your material!
Step Number 3
After you finish cutting everything you lay out the pattern of your quilt. I always have down a diagonal pattern like so
 |
| Make sure all of your squares have the right sides showing on both sides!!! So insides are together! |
You can make it as big or as small as you want it! ( I did mine a 10 x 12)
Step number 4
After you have your pattern figured out you get to the sewing yaya! Sense it is a rag quilt you want the seams to show! You take the two first squares of your top row like shown in this picture below
and you sew down the end of the material! but you want to sew 4/8ths of an inch away from the edge! Ok here comes my trick to keep a strait line!
I use tape to keep my lines straight! I put it on the line I want and use it as a guide! It is kind of a silly trick but my grandma taught it to me when I sewed my first rag quilt and I still use it!!
Ok back to the sewing line your material on the 4/8ths line and sew to the end of the two squares!
Now you take the next square and add it on too the two you just sewed and you do that until the end our your row! Then you stop and start the next row. Make sure that you keep your squares in the same order when you sew it!
Repeat that step too all of your rows
Step 5
After you have sewn all the squares you start to sew all of the rows together!
You take the first and second row and pin them together. make sure you pin the seams open on both sides! after you have pinned it sew it 4/8ths away from the edge again!
Then take the next row and do the same thing do it to every row until they are all done!
Step 6
After all of your rows are sewed together it should look like this!
Ok you are almost done with the sewing part! All you have to do is sew around the edges!
Now you are going to take the almost finished quilt and line the edges on the 4/8ths line again and sew with a straight line all the way around all four of your edges. after you finish doing that go back over and do it with a zigzag stitch! Then you are finished with the sewing part!
Make sure when you are going over your seams that they are open!
Step 7
You are done with sewing now! Now on to the cutting! All of the seams that are sticking up you are going to cut them!
Cut it like a fingers width a part you can make them a little smaller or bigger if you want! make sure you don't cut the stitching stay a little bit apart from the stitches. Cut all of the seams!! ( it will take awhile and your hands might be sore from holding the scissors for a long time )
Step 7
Now that you have cut all of your seams you now through it in the washer and dryer! to make it look all ragged.
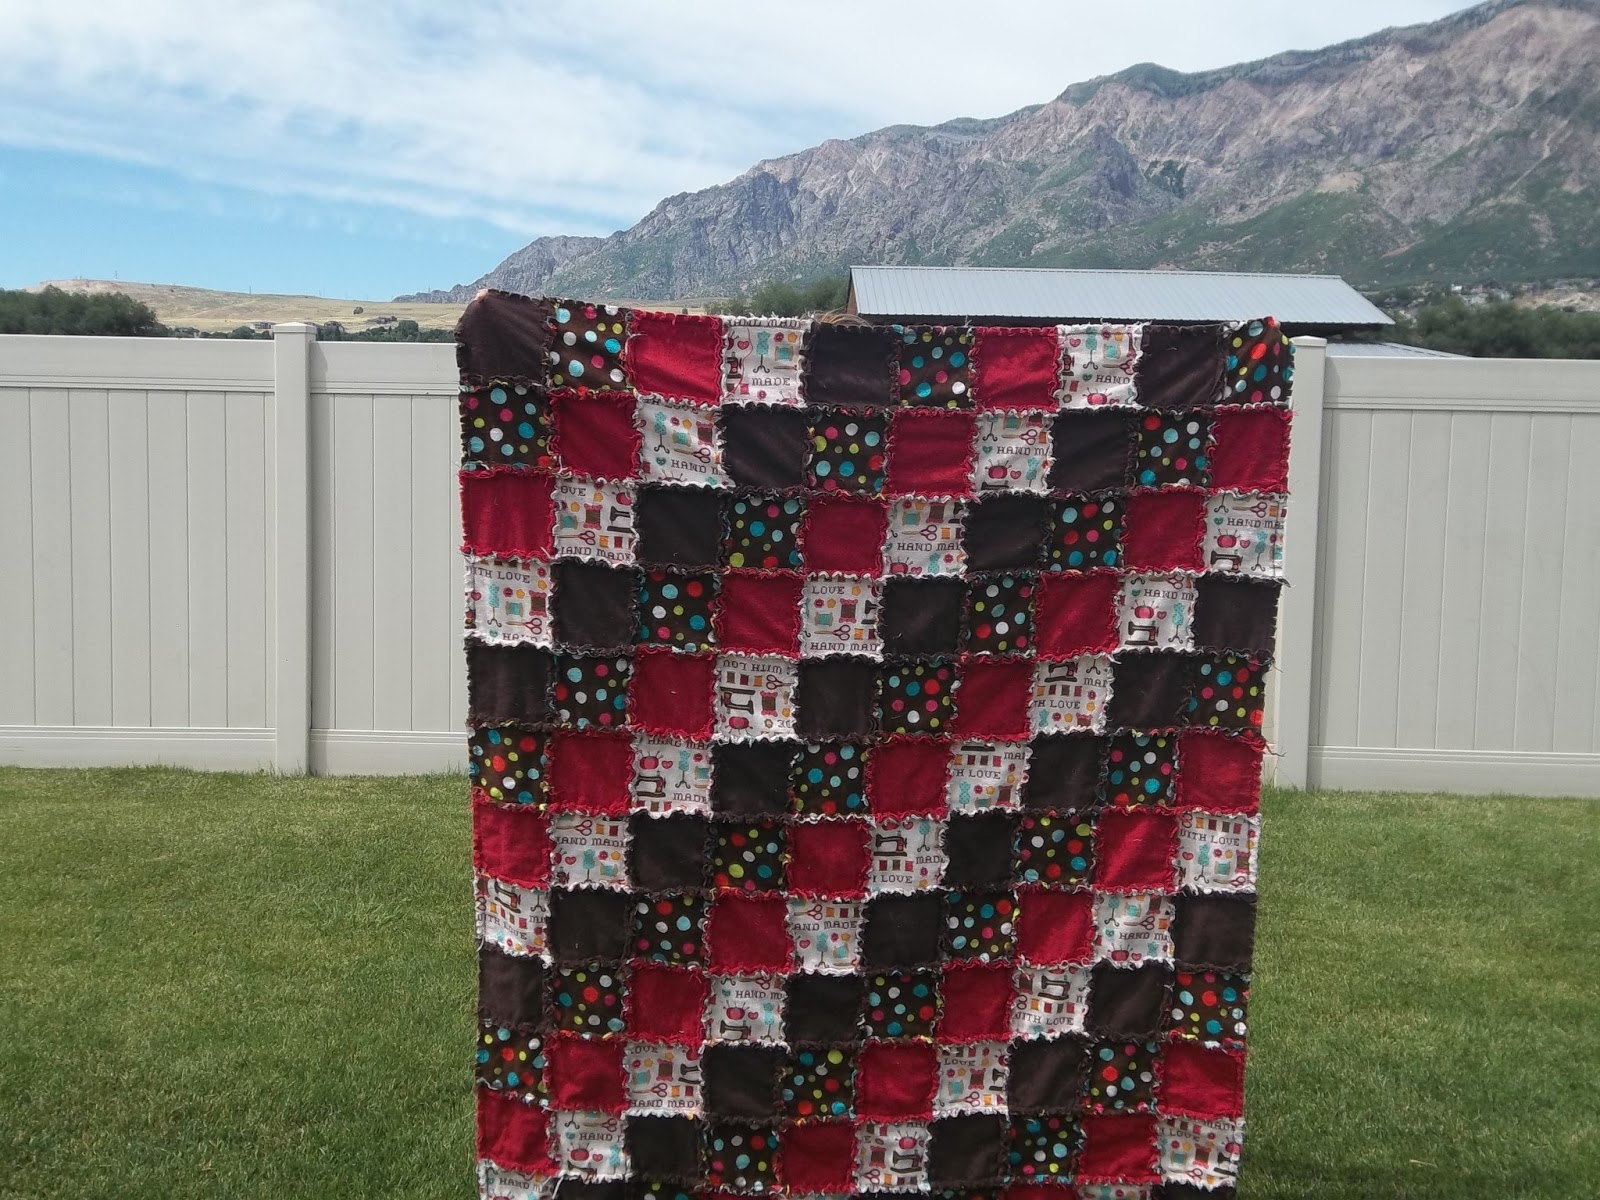
Step 8
Your finished! Enjoy your quilt!!!
 |
| its nice and warm!!! |

And of course my label
if you have any questions please ask me :)
|
| |